NewsDesk
With NesDesk you be able to create and manage Newsposts. Next to that you can determine, on what channel a post should be published (Rooms, PrimeTime, etc). You can schedule newsposts and adjust the content for each channel seperatly.
- News overview
- How does the status bar within the news overview work?
- How do I create a news post?
- Why is the title of my post not updated?
- How do I adjust an image in an existing post?
- Create or manage a post
News overview
How does the status bar within the news overview work?
Publishing of a post is deactivated or has ended
The bar is greyed out.

A post is saved as a concept or a draft
The status bar changes to purple.

A post is active
The bar turns partly green.

The closer the post approached the end date of the post the more greyed out the bar will get.

A post has been scheduled
The bar gets (partly) orange.
The closer the post approaches the publishing date of the post, the more greyed out the bar will get.
On the publishing date, it finally will turn green.

A post is published forever
The bar will stay green.

If you hover over the bar with the mouse, you will see more detailed information. 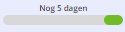
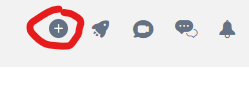
How do I create a news post?
Click on the 'plus'icon in the upper right corner. The GoCreate-pop up screen appears. Next click on 'Create a new post' and walk through the steps.
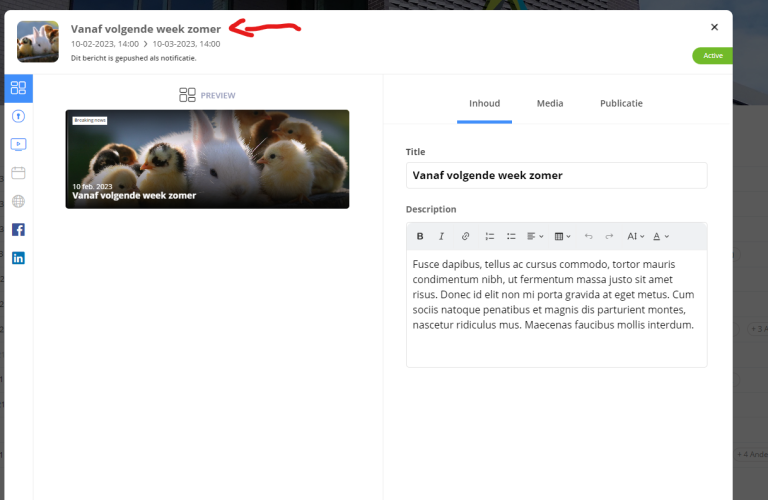
Why is the title of my post not updated?
You can adjust every steting of a post individual for each channel you want this post to be published.
In the newsdesk overview, however, the title will remain unchanged.
If you want to adjust the original title just click on the title in editor mode.
Editor mode
Hover over the post in the news overview and click on the pen icon that appears on the right to open the post in editor mode.
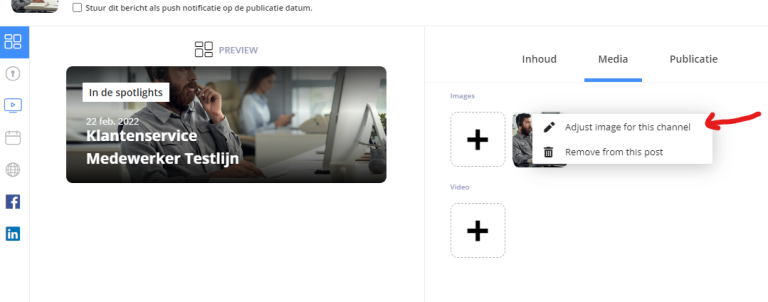
How do I adjust an image in an existing post?
Hover over the post in the news overview and click on the pen icon that appears on the right to open the post in editor mode.
Hover over the image and right click on the image. A context menu appears where you can adjust the image.
You be able to use a certain part of the image by zooming in or move the image.
Create or manage a post
How to create a post
Creating and Publishing a News post
This article provides a detailed explanation of the steps involved in creating and publishing a news post within the Comvay360 platform. It covers various aspects, including image and video uploads, publication scheduling, channel customization, and specific settings for the PrimeTime channel.
To create a new news post and determine its publication schedule, click on "Create a news post". Follow these steps:
-
Enter a title
-
Enter the text
-
Click "create"
- Additional options for the article will appear.
- The screen will be divided into three sections:
- Left: Content that you can customize.
- Right: A preview of the post.
- Right sidebar: The channels on which the article can be published.
-
Add images
- Under "images," add one or more images to your article.
- Choose at least one image.
- You can select images from your "Comvay MyDrive" or your local storage.
- Allowed file types: .png, .jpeg, or .jpg.
-
Add videos (optional).
- Under "videos," you can upload a video file.
- Allowed file types: .mp4, .m4v, .webm, or .mov.
- Comvay360 will automatically convert videos to a more compact format. A progress bar will indicate the conversion status.
-
Publication schedule.
- The option "Publish on" is primarily relevant if you use Comvay360 Homebase and/or Comvay360 Pocket.
For other channels, this setting is not applicable. - In the right section, above the preview, you'll find the publication time settings.
- You can choose "Always" (the post will always be displayed) or specify a time window (from/to) during which the post will be shown. The default time window is set to one month from the time the article is created. After this period, the post will no longer be displayed.
- The option "Publish on" is primarily relevant if you use Comvay360 Homebase and/or Comvay360 Pocket.
-
Channels.
- In the right sidebar, you'll see the available channels.
- If you want to customize the content for specific channels (e.g., text length), select the channel and make the necessary adjustments.
-
Save or publish.
- You can save the post as a "draft" or publish it immediately by clicking "Share".
- You can save the post as a "draft" or publish it immediately by clicking "Share".
-
Overview.
- An overview will appear with the most important information about the newly created post, including status.
- Status indicators:
- Blue: post saved as a draft.
- Green: post published.
- Orange: post scheduled for future publication.
- Gray: post is not (or no longer) published.
- Hovering over the status bar provides more detailed information about the publication.
Specifics for PrimeTime:
- Orientation: Choose "PrimeTime Landscape" for horizontal-mounted screens or "PrimeTime Portrait" for vertical-mounted screens.
- Display duration: Set the display duration for the news post on the screen.
The default is 20 seconds, but you can adjust it. - Playlists: Add the post to specific playlists.
- Templates: Choose a template to customize the appearance of your post.
Why does my post show up in the preview in different colors?
If you edit a post and you look at the preview, sometimes you notice deviations like different text colors, font sizes or fonttype.
Most likely it's because you copied text from an HTML source (like a webpage) and so the text carries al the HTML formating in the background.
If you copy text from e.g Word of a webpage, make sure you do that with the shortcut CTRL+SHIFT+C (Mac: COMAAND+SHIFT+C) and paste the text with CTRL+SHIFT+V (Mac: COMMAND+SHIFT+V).
By using these shortcuts, you make sure all formatting will be removed from the text.
That way, all the strange colors, font sizes and font types will be gone.
There is another way to get rid of the unwanted formatting:
Paste the copied texst first in a simple editor like Notepad. From there copy the text and paste it into the post.